Context
For non-hosted clients, the Lone Wolf Export Service serves as a bridge between your back-end service and web-based services (such as online bank reconciliation, Lone Wolf Link, or Insights). It ensures that your transaction details are synced between the back-end and web-based services. When installed, the Export Service runs automatically in the background.
This service is already installed for hosted clients.
In this article
Before you begin
- Ensure you are on the latest version of Back Office
- The Export Service must be installed on the same computer drive where your "Lone Wolf\Data" folder is located
- If the Export Service is already installed, you must uninstall it first.
Download and install the Export Service
Click for the detailed steps
- Go to the Lone Wolf Community landing page, then click Log In. The Login page appears.
- Enter your user name and password, then click Log in. Note: Your user name is usually your email address. If you do not remember your password, click Forgot Password.
- When you log in, the Community home page appears.
- Click Tools/Utilities > Downloads, or, under Quick Links, click the Downloads tile.
- Download EXPORTER FOR NON-HOSTED USERS.
- Right-click the LoneWolfExportServiceSetup.exe file and select Run as administrator. The Lone Wolf Export Service Setup window opens.
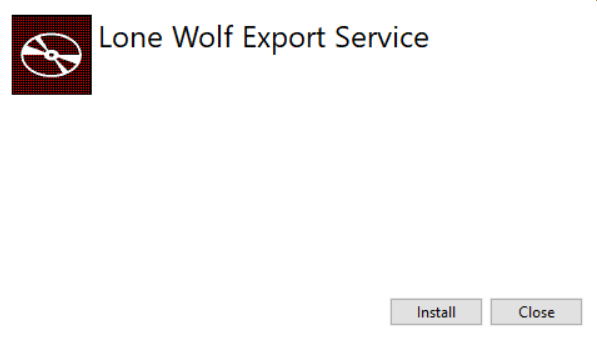
- Click Install. The Welcome to the Data Export Service Setup Wizard window opens.
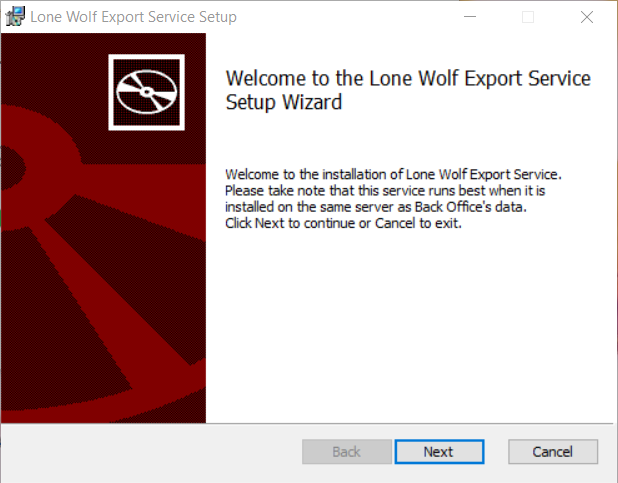
- Click Next. The Caution window opens. It reminds you to install the service in the same location as your Lone Wolf\Data folder.
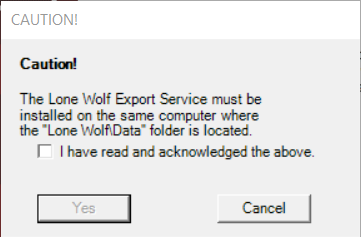
- Check I have read and acknowledged the above, and click Yes. The Destination Folder window opens.

- The default location appears. If it is not correct, click Change and select the folder on your computer where you want to install the Export Service.
- Click Next. The Select Data Source window opens.

- Click Browse and browse to the data folder. Note: The folder containing your data must be on the same drive where you are installing the export service, then do one of the following:
- If this is the only instance of Back Office, proceed to the next step.
- If you are installing the export service to more than one Back Office instance, click Add Back Office. Your first Back Office location is saved, and you can add another file path for another instance of Back Office.
- Repeat steps 7 through 8 for as many instances of Back Office as you have installed on this computer drive. If another instance is installed on a separate drive, you must install a separate service.
- Click Next. The Ready to install Lone Wolf Export Service window opens.
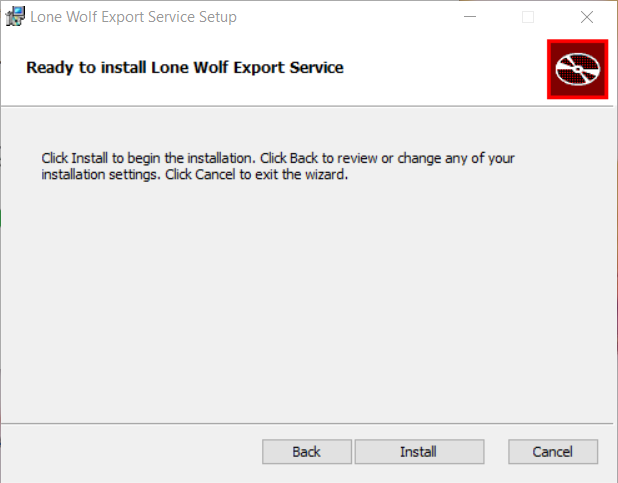
- Click Install. The Completed the Lone Wolf Export Service Setup Wizard window opens.
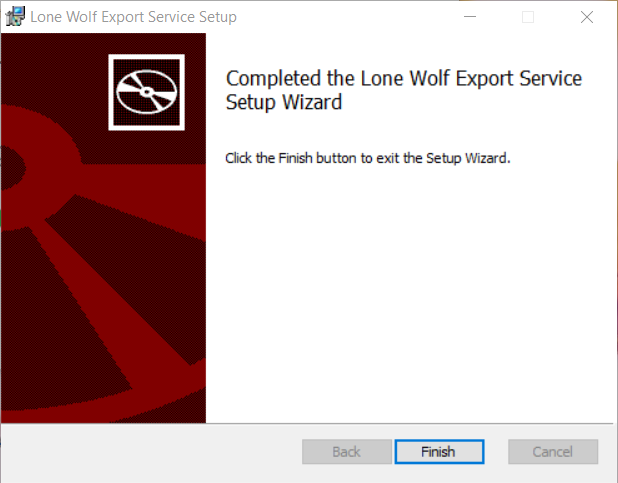
- Click Finish. The Export Service Setup window closes. The Installation Successfully Completed window opens.
The Export Service is installed on your computer.
Note: The initial synchronization of your information can take 24 to 48 hours to complete.
Verify that the Export Service is working in Windows
Click for the detailed steps
- In Windows, press Ctrl+Alt+Delete. The lock screen opens.
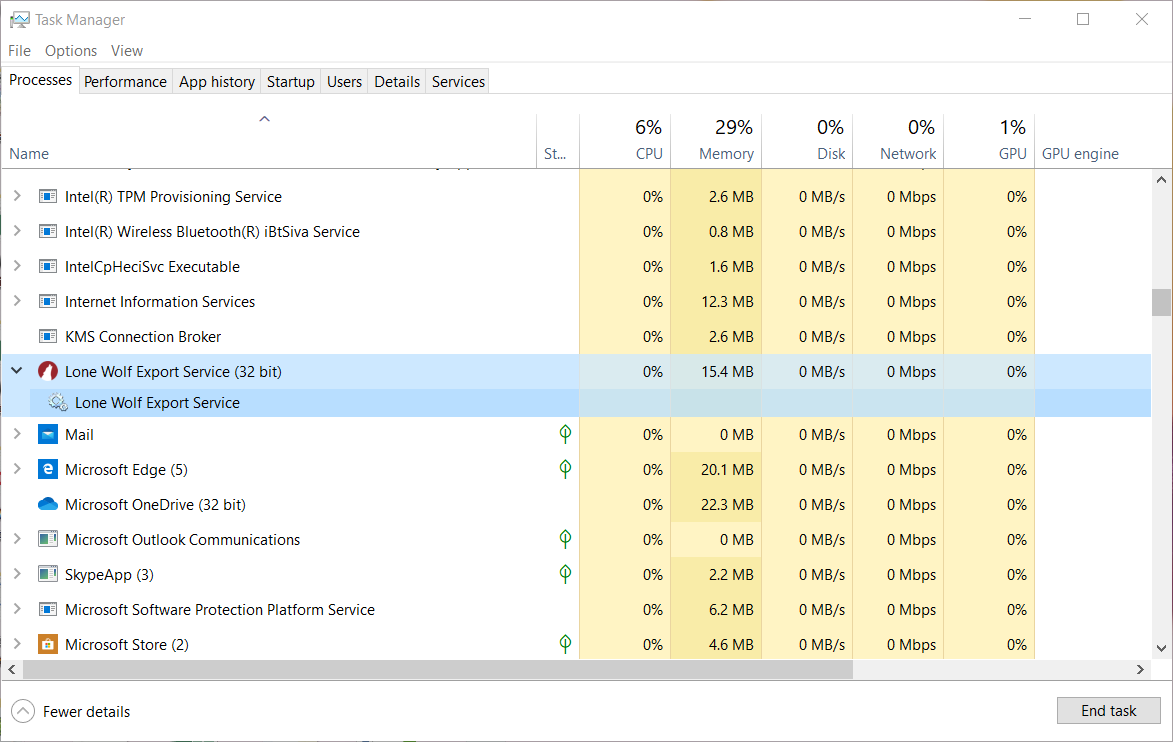
- Click Task Manager. Windows re-opens, and the Task Manager window opens.
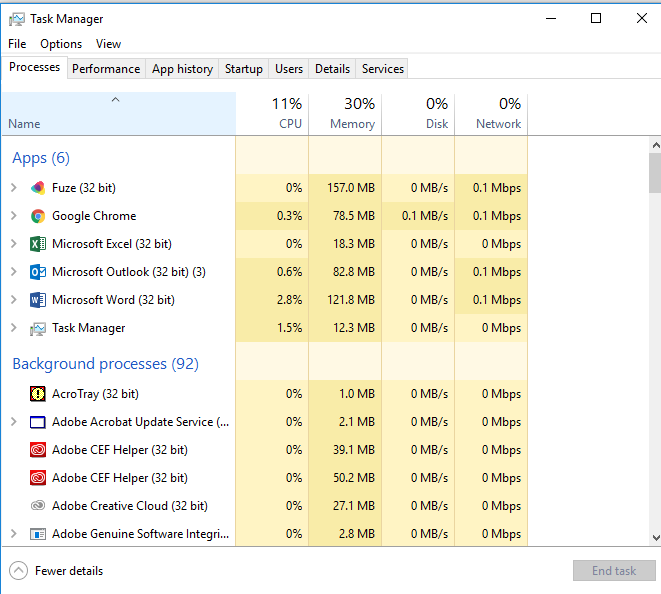
- Locate Client Data Export in the list to confirm the service is running.
- Navigate to the folder where you installed the Export Service.

Note: The default location on a Windows PC is: C:\Program Files (x86)\Lone Wolf Technologies\Export Service. - Open the LoneWolfExportService.log file found in Export Service\logs folder. Use Notepad or Notepad++ to open the file.
If the export service is running correctly, the following text appears:
Start monitoring directory for changes. | {_config.SourceDir} where {_config.SourceDir} is the actual folder being monitored.
Update the Export Service
Click for the detailed steps
To update the Export Service, you must uninstall the current one, and install the new version. There should never be more than one Export Service running on your network.
- On your desktop, go to Control Panel > Programs > Programs and Features.
- In the list of applications, search and right-click Lone Wolf Export Service.
- Click Uninstall.
- After uninstalling the old Export Service, follow the instructions above in Download and install the Export Service.
Configure the Export Service for multiple Back Office programs
Click for the detailed steps
In some cases, there are multiple Back Office programs that need to export data. Follow these instructions to update the Export Service so that it exports data for more than one Back Office program running on the same server.
- On your server, navigate to
C:\Program Files (x86)\Lone Wolf Technologies\Export Service\. - Copy
config.json and paste it to the local desktop. - Using Notepad, open
config.json for editing. - Edit the file with your own file path using the structure below:
 [
	{
	"AppDir": "C:\\LoneWolf\\Company1\\LWapp\\"
	},
	{
	"AppDir": "C:\\LoneWolf\\Company2\\LWapp\\"
	}
] - Click File > Save to save your changes.
- Return to
C:\Program Files (x86)\Lone Wolf Technologies\Export Service\. - Rename the original
config.json file to configold.json. - Now, copy your updated
config.json file to C:\Program Files (x86)\Lone Wolf Technologies\Export Service\. - Restart the Export Service from the Windows Services console.
Ensure that the AppDir field still points to the correct application directory, keeping the double slashes between each folder section.
Related article